
I am always curious to learn how our community members use n8n. This time I discovered that some members set up n8n via PM2. Though we officially support server setup via Docker (check out the Server Setup guide to learn more), I thought PM2 is a useful alternative for some users. So in this article, I want to help you understand what PM2 is and show you how to set up n8n on your server via PM2.
Table of contents
What is PM2?
Set up n8n via PM2
Prerequisites
Start n8n via PM2
Auto-start n8n on machine restart
Update n8n
Configure environment variables
Configure Nginx and SSL certificate
How to run n8n with PM2 on Windows
What's next?
What is PM2?
PM2 is a daemon process manager that allows you to manage and keep your application online. PM2 allows you to wrap a Node.js application into service– in other words, to run a Node.js application on a production server. PM2 comes with many features, like application monitoring and memory usage. PM2 allows you to configure the environment variables for your application and automatically restart the application when a file is modified.
You can configure all the variables mentioned in the Environment Variables documentation for n8n. The flexibility that PM2 provides makes it a good alternative to Docker.
Now let’s see how to set up n8n via PM2 step by step.
Set up n8n via PM2
Prerequisites
To run n8n via PM2, you need to have the following software installed:
- Node.js and npm: You can find instructions on how to install both using nvm (Node Version Manager) here. You need to have at least version 14.15. In case you already have installed Node.js, you can check your current version with the following command:
node -v
- PM2: You can install PM2 globally with the following command:
npm install pm2 -g
- n8n: You can install n8n globally with the following command:
npm install n8n -g
Start n8n via PM2
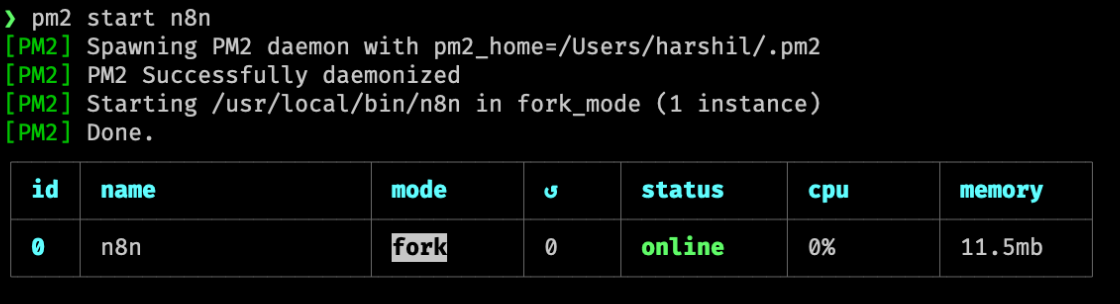
After installing n8n and PM2, you can start the n8n service by executing the following command:
pm2 start n8n
If you’re running n8n locally, navigate to localhost:5678 to access the Editor UI. If you’re running n8n on a server, navigate to IP_ADDRESS:5678.
Congratulations, you have successfully set up n8n via PM2!
If you want to learn about advanced configurations, continue reading.
Auto-start n8n on machine restart
You can generate startup scripts and configure them to keep your process list intact if your machine restarts (un)expectedly.
To automatically generate and configure a startup script, execute the following command:
pm2 startup
The above command asks you to run another command. Copy and paste the suggested command. The comment would look like this:
sudo "env PATH=$PATH:/user/home/.nvm/versions/node/v14.3/bin pm2 startup <distribution> -u <user> --hp <home-path>

PM2 will now automatically restart at boot.
If you want to learn more about the startup script, refer to the official PM2 documentation.
Update n8n
We release a new version of n8n with new features and bug fixes almost every week. To keep your n8n instance updated, you need to install the latest version of n8n.
To update n8n, follow these three steps:
1. Stop the n8n service
pm2 stop n8n
2. Install the latest version of n8n
npm install -g n8n@latest
3. Restart the n8n service
pm2 restart n8n
Now you can enjoy the new features of n8n!
Configure environment variables
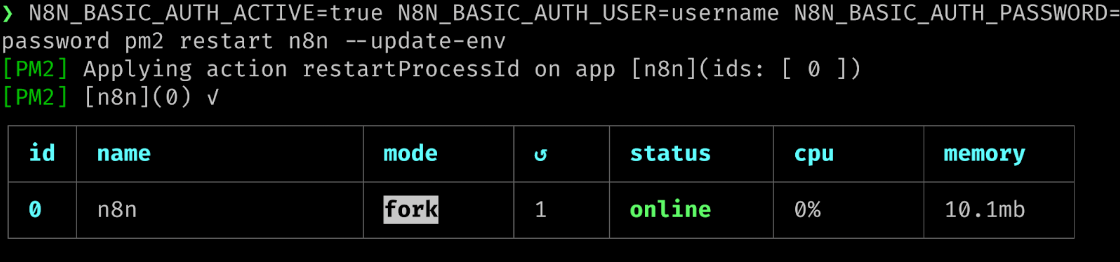
You can set environment variables to override the default n8n configurations. For example, if you want to enable basic authentication for your n8n service, use the following command:
N8N_BASIC_AUTH_ACTIVE=true N8N_BASIC_AUTH_USER=<USERNAME> N8N_BASIC_AUTH_PASSWORD=<PASSWORD> pm2 restart n8n --update-env
Replace <USERNAME> and <PASSWORD> with your username and password. The above command will restart PM2 with the new configuration. If you navigate to your instance, you will now be asked to log in with your username and password.
Similar to the above command, you can configure any environment variable for your n8n instance. You can learn more about all the possible configurations here.
PM2 also allows you to configure these variables via a config file. Execute the command `pm2 init simple` to generate a simple configuration file.
Open the generated file, and replace the existing code with the below code snippet:
module.exports = {
    apps : [{
        name   : "n8n",
        env: {
            N8N_BASIC_AUTH_ACTIVE:true,
            N8N_BASIC_AUTH_USER:"USERNAME",
            N8N_BASIC_AUTH_PASSWORD:"PASSWORD"
        }
    }]
}
Now, to start n8n, execute the command:
pm2 start ecosystem.config.js
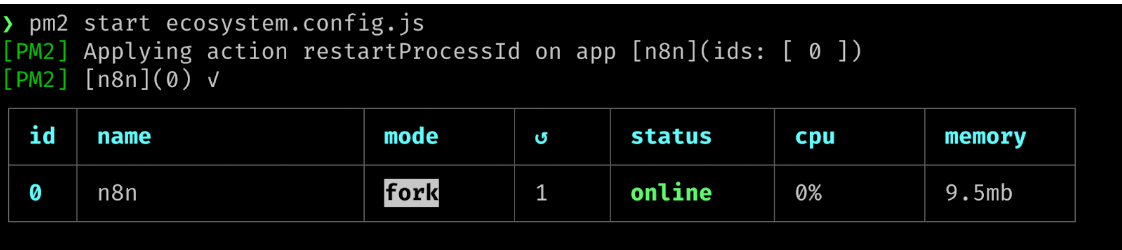
The above command will load the configuration from the ecosystem.config.js file and start n8n.
You can learn more about the configuration files in PM2 on the official PM2 documentation.
Configure Nginx and SSL certificate
You learned how to set up n8n via PM2 and access the n8n workflow designer via the IP address. In this section, you will learn how to configure Nginx and an SSL certificate to point n8n to your domain.
Keep in mind that this setup is not officially supported by n8n and we recommend the server setup page. If you don't set up the domain and SSL, most trigger nodes won't work.
First, start and enable Nginx by executing the following commands:
sudo systemctl start nginx
sudo systemctl enable nginx
Next, create a configuration file by executing the command `sudo vi /etc/nginx/conf.d/n8n.conf`. Add the following configuration and save the file.
server {
    server_name subdomain.example.com;
    location / {
        proxy_pass http://localhost:5678;
        proxy_http_version 1.1;
        proxy_set_header Connection '';
        proxy_set_header Host $host;
        chunked_transfer_encoding off;
        proxy_buffering off;
        proxy_cache off;
    }
}
Configure the A record in the DNS management section for your domain.
Before restarting the Nginx, you need to add the SSL certificate. This will allow you to access n8n via HTTPS and make secure calls to webhooks.
Execute the following commands to install the required packages:
sudo apt install software-properties-common
sudo apt update
sudo add-apt-repository ppa:certbot/certbot
sudo apt install python3-certbot-nginx
Once installed, generate the SSL certificate using the command:
sudo certbot --nginx -d subdomain.example.com
Finally, update your ecosystem.config.js file with the following configurations:
module.exports = {
    apps : [{
        name   : "n8n",
        env: {
            N8N_BASIC_AUTH_ACTIVE:true,
            N8N_BASIC_AUTH_USER:"USERNAME",
            N8N_BASIC_AUTH_PASSWORD:"PASSWORD",
            N8N_PROTOCOL: "https",
            WEBHOOK_TUNNEL_URL: "https://subdomain.example.com/",
            N8N_HOST: "subdomain.example.com"
        }
    }]
}
Now restart Nginx and PM2 using the command sudo systemctl restart nginx and pm2 restart ecosystem.config.js, respectively.
Navigate to your domain, and you will now be able to access n8n.
Note that the SSL certificate will expire after a certain period of time. You need to periodically run the following command to renew the certificate. Refer to the Certbot documentation to learn to setup automated renewal.
sudo certbot renew
How to run n8n with PM2 on Windows
If you’re running PM2 on a Windows operating system, you might run into a minor issue. On Windows, PM2 doesn’t recognize the correct n8n directory and throws an error.
To run n8n via PM2 on Windows, navigate to the start directory C:\Users\%AppData%\Roaming\npm\node_modules\n8n\bin and execute the command:
pm2 start n8n
Note that if you have installed n8n in a different directory, you need to execute the above-mentioned command from that directory.
What’s next?
PM2 is a good alternative to Docker when you want to run a Node.js application. In this article, you learned about PM2 and how you can set up n8n via PM2. You also learned how to configure advanced settings for your n8n service in PM2.
However, keep in mind that n8n officially supports setting up n8n with Docker.
Now it’s your turn: configure your domain to point it to your server or try out other advanced configurations to modify your n8n service.
I’d like to know how you are using n8n. Feel free to message me on Twitter or discuss on our community forum 🧡 And if you want to get the latest content on automation, subscribe to our newsletter 💌
Start automating!
The best part is, you can start automating for free with n8n. The easiest way to get started is to sign up for a free n8n cloud trial. Thanks to n8n’s fair-code license, you can also self-host n8n for free.