


n8n allows you to build your own nodes as well as install the nodes built by our community members. Now, with the n8n community node repo, the whole process is way easier for end users and node creators.
Currently the community node repo is only available for self-hosted users. Our engineers are working hard to get it to n8n cloud soon!
For node end users
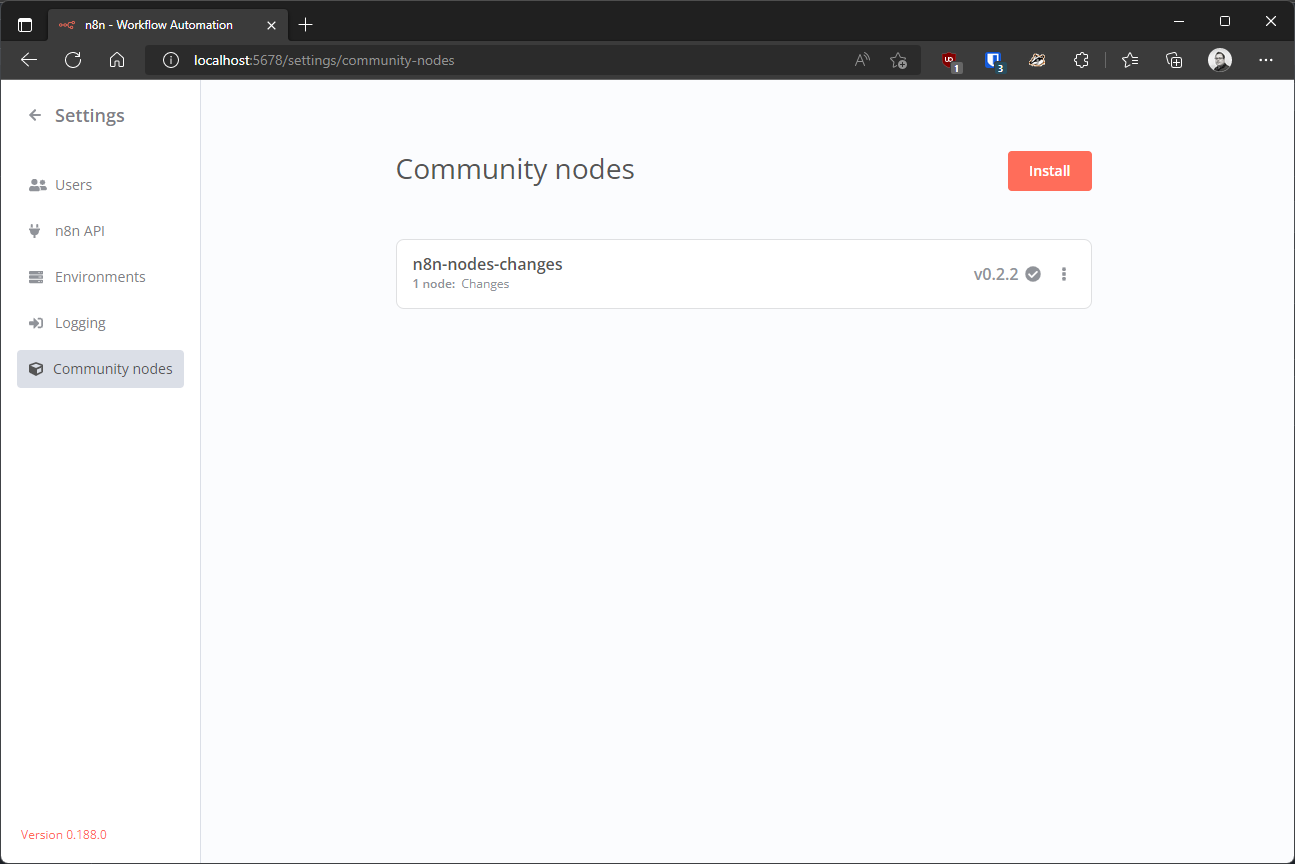
To install a community node, all you need to do is go to the community nodes section in Settings:
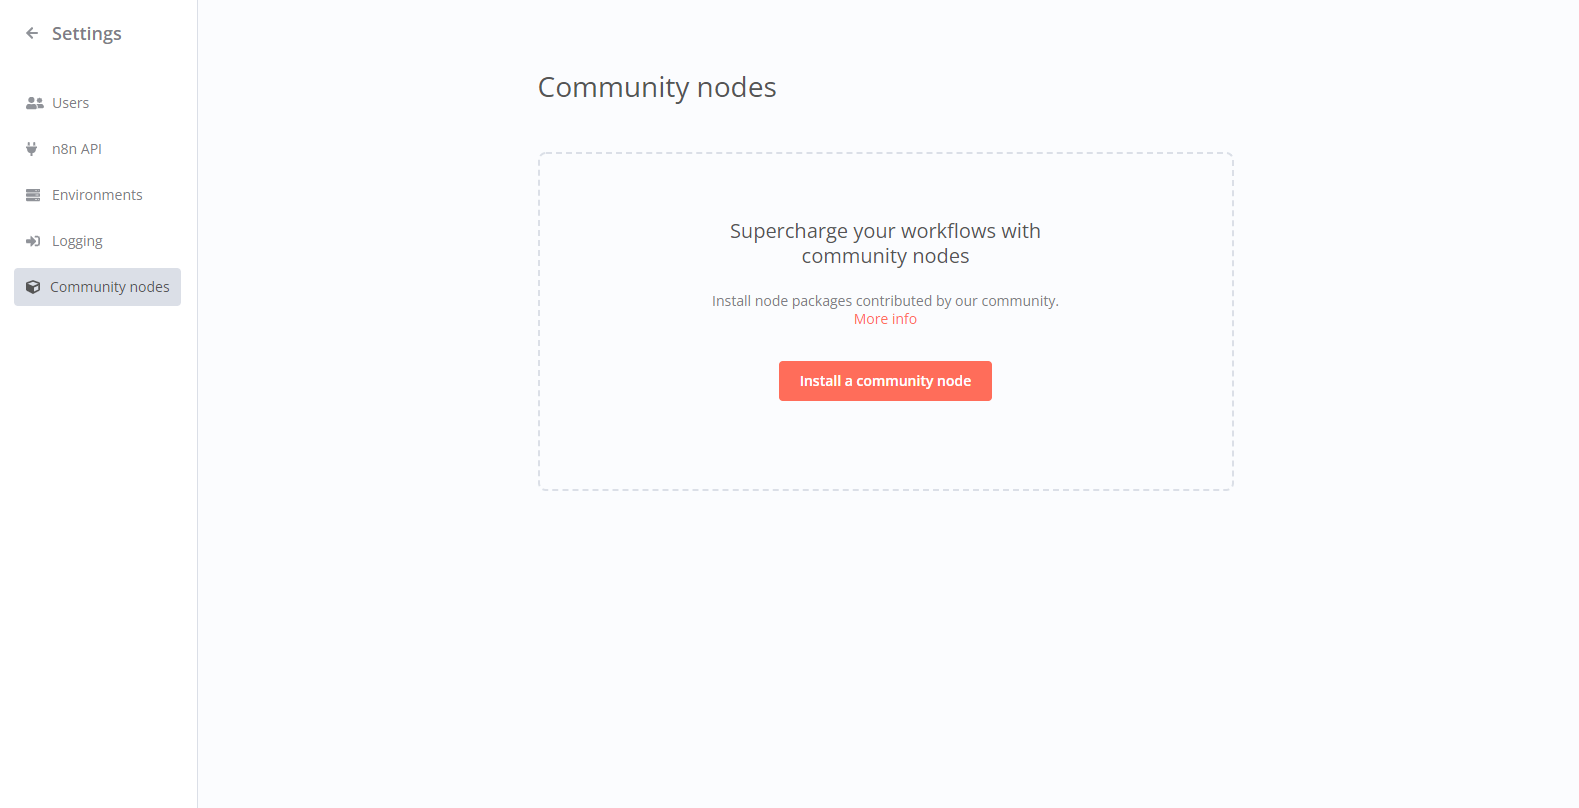
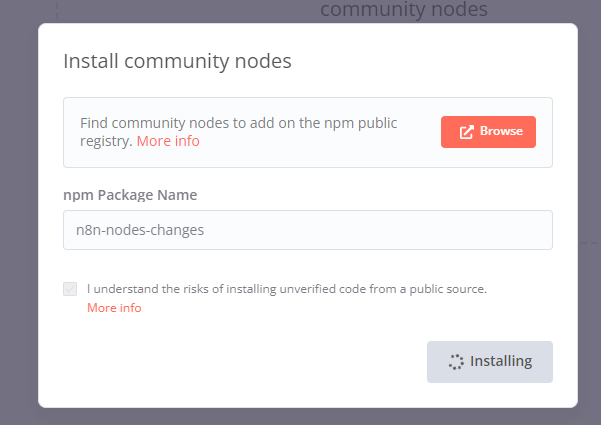
And select Install a community node. Then, make sure to type in the appropriate npm Package Name and hit Install.
The main benefit of installing community nodes is that you can immediately access far more integrations that are currently supported by official n8n nodes. All this can be done in a simple, GUI-based workflow for installing and managing nodes.
For more information on installing community nodes, be sure to visit the Community nodes docs page.
Building community nodes
To build an n8n community node, make sure to create an npm package and publish it to the npm registry.
For more information on building nodes, be sure to check the Creating nodes section in our docs and the detailed guide on how to submit community nodes. Additionally, you can also use the n8n-nodes-starter for an even quicker start to building n8n nodes.
Node builders can now drastically speed up the process of pushing nodes live as they won’t be reviewed anymore by n8n’s team. They will go live immediately once you submit your nodes to npm.
Keep in mind that the community nodes are built, maintained, and published without n8n’s official oversight. Therefore, be sure to install them at your own risk. If you spot any issues, make sure to address them directly with the node builder.