Snowflake is becoming a household name in the cloud-based data warehouse domain. Similarly, CSV is a very common file format for online data resources and databases to export their contents.
Moving data from one system and inserting it into your database is a critical workflow in data management. That’s why Snowflake users often find themselves needing to import some exported data in CSV format into their own Snowflake database.
To help you easily navigate situations like that, this article will cover three different ways to upload CSV to Snowflake:
- Uploading CSV to Snowflake via the web interface
- Uploading CSV to Snowflake with SQL commands
- Uploading CSV to Snowflake with n8n
Without further ado, let’s get started!
How to upload CSV to Snowflake?
As we explore three techniques on how to upload CSV to Snowflake, there are some Snowflake jargons that we will repeatedly use. Let’s cover these concepts:
Virtual warehouse
If intentionally simplified, you can think of the virtual warehouse as some remote machine that is tied to your Snowflake account and which is responsible for doing all the computing processing like loading data into a table.
Every Snowflake account you create comes with one of these machines, the default warehouse, but you could create others.
For Snowlake, the idea behind warehouses is the notion of separating the compute infrastructure from the data persistence infrastructure.
Snowflake stage
A Snowflake stage can be likened to a shopping cart where you add items that you eventually pay for and take home - only that now, you are not dealing with items in the mall or an e-commerce site but files on your computer.
A Snowflake stage is the designated cloud storage where you can upload files from your machine and which you eventually load to a Snowflake table (checkout).
Snowsight
When you log into your Snowflake account, you’d be greeted with a web UI that looks like what’s shown in the image below - we will call this interface Snowsight throughout this section.

Let’s also briefly mention some of Snowflake's data loading best practices:
- Optimize your CSV files: Ensure your CSV files are properly formatted and compressed to minimize upload time and maximize performance;
- Utilize staging area: Consider using a staging area to pre-process and validate your data before loading it into Snowflake;
- Choose the appropriate loading method: Evaluate the nature of your data and select the most suitable loading method, such as bulk loading or continuous loading, to optimize performance.
Method 1: Using Snowsight to upload CSV to Snowflake
Here, we will use Snowsight to load a CSV file to Snowflake. While we’d focus on CSV here, note that you can also work with other file formats like TSV, JSON, Avro, ORC, Parquet, or XML.
While Snowsight does a pretty good job of abstracting the intricacies of loading data into Snowflake like the staging phase, it is limited in one major way:
Take the following steps to upload CSV to Snowflake:
Step 1: Create a Snowflake account
Signup for a free Snowflake account and login to the account. You get a 30-days free trial with $400 worth of credits.
Step 2: Prepare a CSV file
Create a short list of 10 contacts with their first name, last name, and age. Or simply download this spreadsheet file in CSV format.
Step 3: Create a Snowflake database and schema
Just so you are not lost here, a Snowflake database is usually a collection of related schemas. And a schema is usually a collection of related Snowflake objects, e.g. tables.
So you’d create a database, a schema within the database, and a table in the schema:
- From Snowsight, go to Data then click the +Database button to create a new database
- Give your database a name -> crm
- Select the newly created database and click the +Schema button to create a new schema
- Give your schema a name -> contacts
- Select the contacts schema in the crm database and click the Create button -> Table -> Standard
Step 4: Create a Snowflake table
- Select the contacts schema in the crm database you created in the previous step. Click the Create button -> Table -> Standard
- You’d be taken to a UI where you can write the SQL query for creating your table. Override the existing SQL query on the page with the snippet below
We are creating a table named users. The columns and their names must exactly match what’s in your CSV file.
- Click Create to run your SQL query and create the users table.
Step 5: Uploading CSV to Snowflake
- Select the users table you created in the previous step and click the Load Data button. You’d be prompted to upload a file from your computer - select the CSV file you downloaded before now
- Set File format to CSV and feel leave all the other default settings as they are then click Next
- If everything goes well, you should be able to preview your data from the Data Preview pane. See the image below:
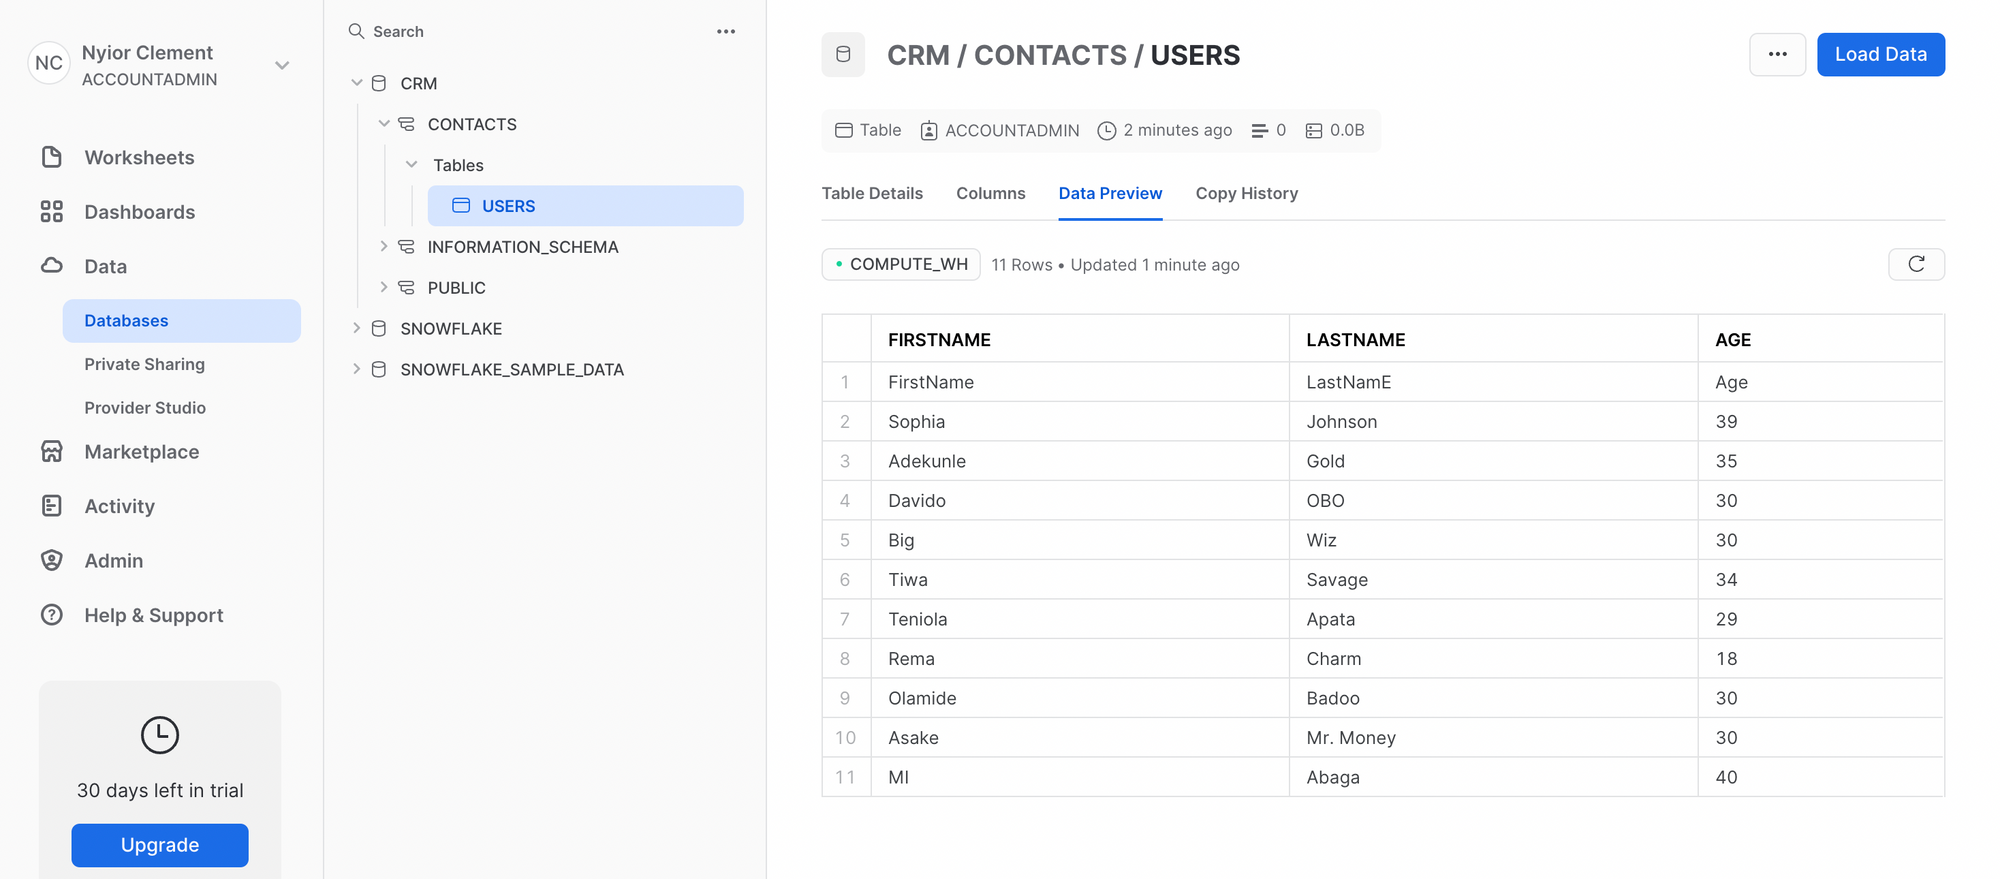
Here, you did not get to stage the file to be uploaded or even create or specify a virtual warehouse because Snowsight handles all these for you under the hood.
Method 2: Using SQL commands to upload CSV to Snowflake
While uploading data into Snowflake with Snowsight is super easy to work with, as we’ve mentioned, it might not be a good fit if you need to upload really large files.
One way to work around this is to connect to Snowflake using an SQL client and then upload your data to Snowflake with SQL commands. If you're comfortable with SQL, this method would work for you.
For brevity’s sake, we will not go into details here. But generally, taking this approach will require the following steps:
- Step 1: Launch your preferred SQL client - a common option here is the SnowSQL, a CLI client that allows you to Snowflake and write SQL queries from the terminal.
- Step 2: Login to your Snowflake account from the terminal using SnowSQL
- Step 3: Now logged in, you can then create a table in Snowflake that matches the structure of your CSV file. This is the phase where you also create your virtual warehouse if you need one.
- Step 4: Next, you stage your CSV file for upload to Snowflake
- Step 5: Use the COPY INTO statement in SQL to load the CSV file into Snowflake, specifying the file format, table name, and file location.
- Step 6: Execute SQL queries to validate the uploaded data, ensuring it matches your expectations.
- Step 7: Check for any errors or warnings in the Snowflake history and query logs
- Step 8: Confirm the successful upload by querying the data from the Snowflake table
While this second approach allows for the upload of really large files, it is limited in one way:
This is where uploading CSV to Snowflake with n8n comes in.
Method 3: Using n8n to upload CSV to Snowflake
We will demonstrate how to upload a CSV into Snowflake with n8n in this section by using the load data into Snowflake n8n workflow. The workflow accepts the URL to a CSV file and it loads the content of the CSV file into a Snowflake table.
Pre-requisites
- n8n set up. The easiest way to get started is to sign up for n8n cloud, but you can also self-host n8n
- A Snowflake account
Take the following steps to set up and run the n8n load data into the Snowflake workflow.
Step 1: Create a Snowflake table
- Follow the steps in the Snowsight section to create a new database named, n8n_test
- Select the PUBLIC schema that was auto-generated in the n8n_test database. Click the Create button -> Table -> Standard
- You’d be taken to a UI where you can write the SQL query for creating your table. Override the existing SQL query on the page with the snippet below
create table users (
id STRING,
first_name STRING,
last_name STRING
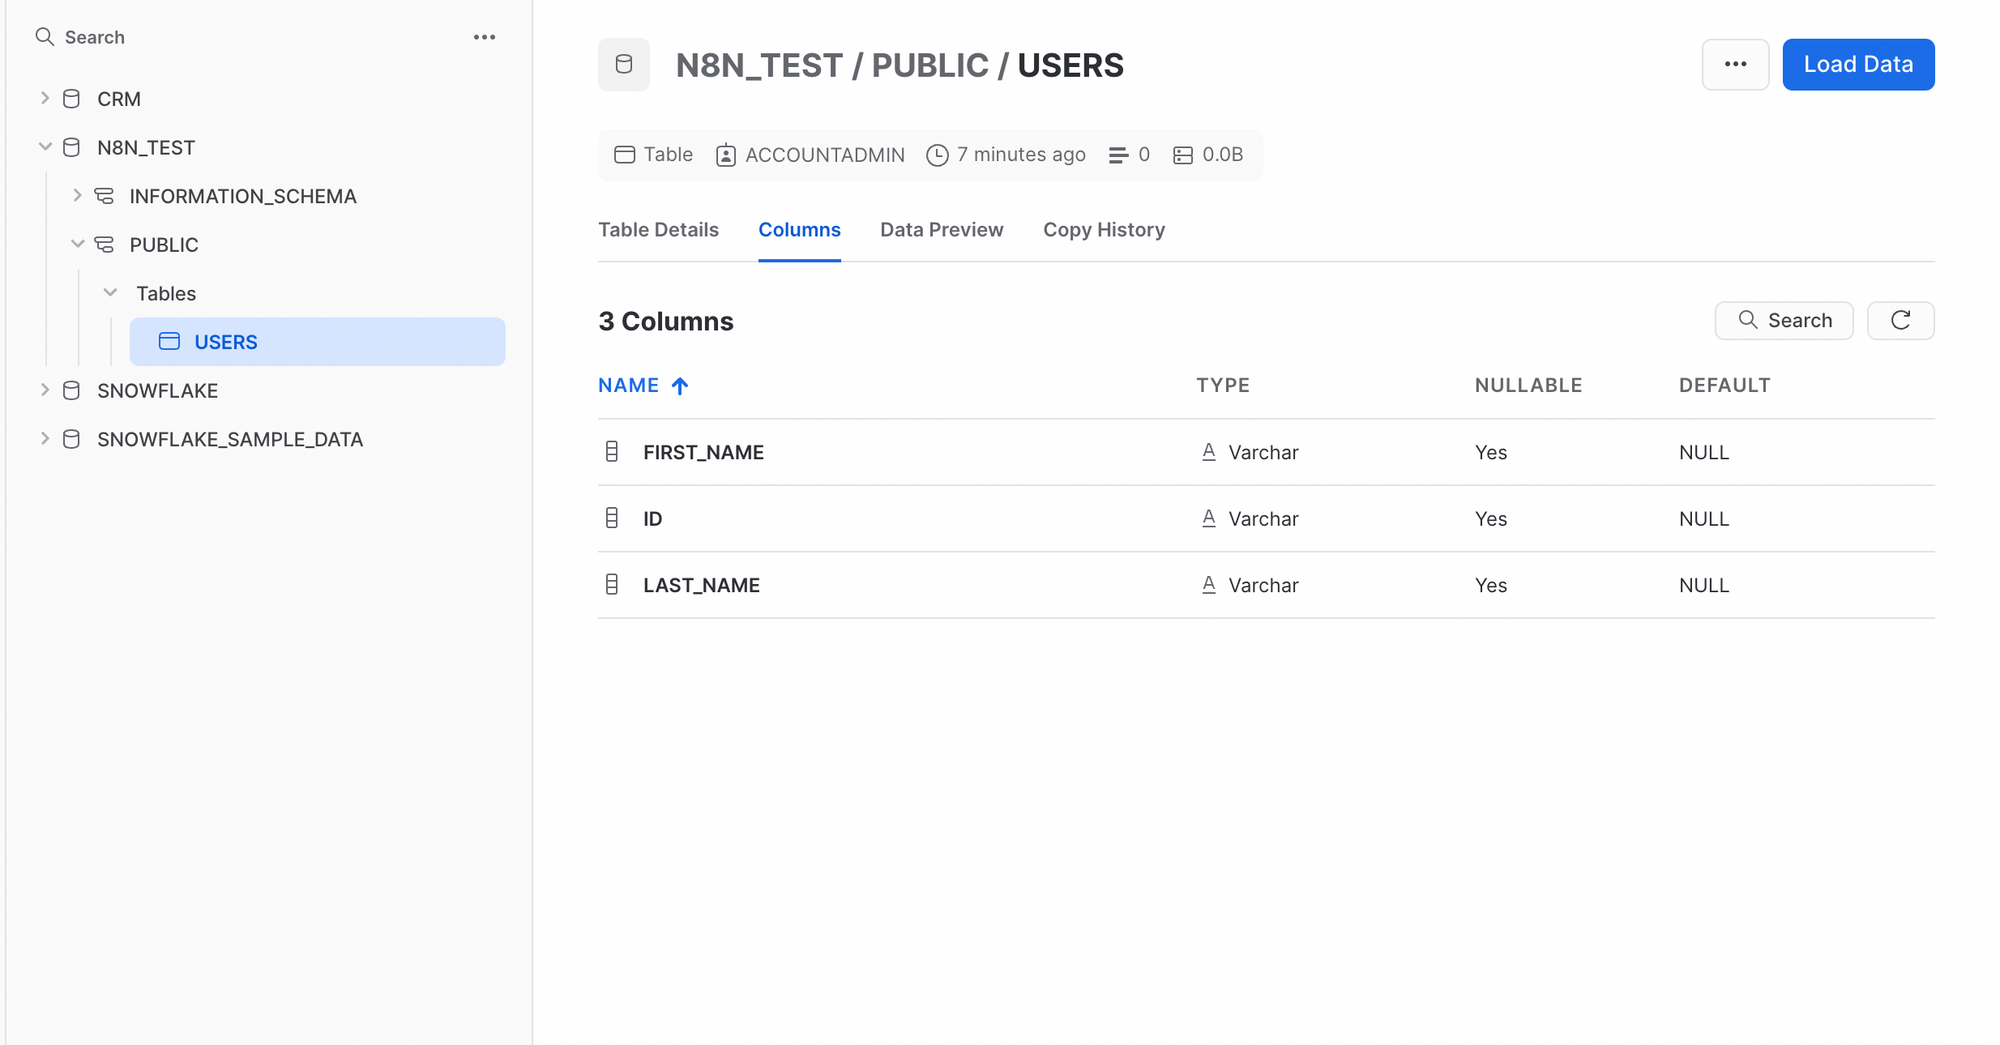
)We are creating a table named users in the public schema. We also made sure that the column names exactly match what we have in the CSV file that we’ve prepared for the purpose of this blog.
- Click Create to run your SQL query and create the users table.
If everything went well your table should be created - see the image below:
Step 2: Import the workflow
Let’s import the n8n workflow that would upload CSV to Snowflake and more specifically the users table we just created:
- Click on the Use workflow button on the load data into Snowflake workflow page. That action would copy the workflow to your clipboard.
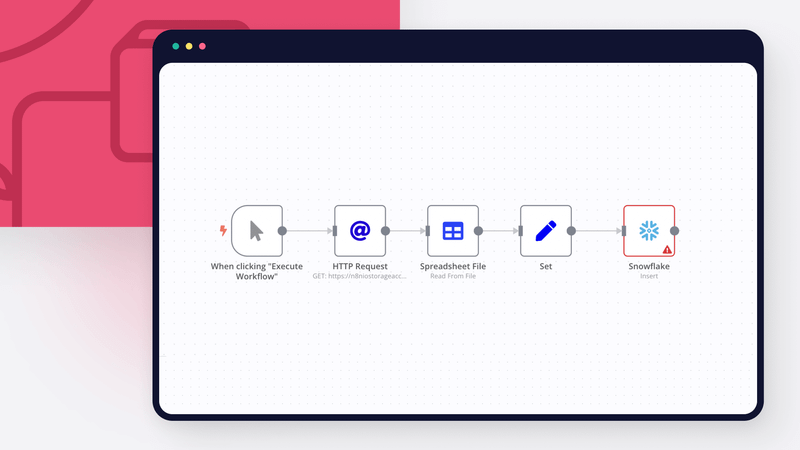
- Go to your n8n editor UI and paste the copied workflow. Your editor UI should be updated with the workflow as shown in the image below.
It’s a really basic workflow with four nodes:
- An HTTP Request node to download the CSV file
- A Spreadsheet node to access the data from the CSV
- A Set node to ensure the data from the CSV is mapped to the column names of the Snowflake database
- A Snowflake node to insert these new rows into the database.
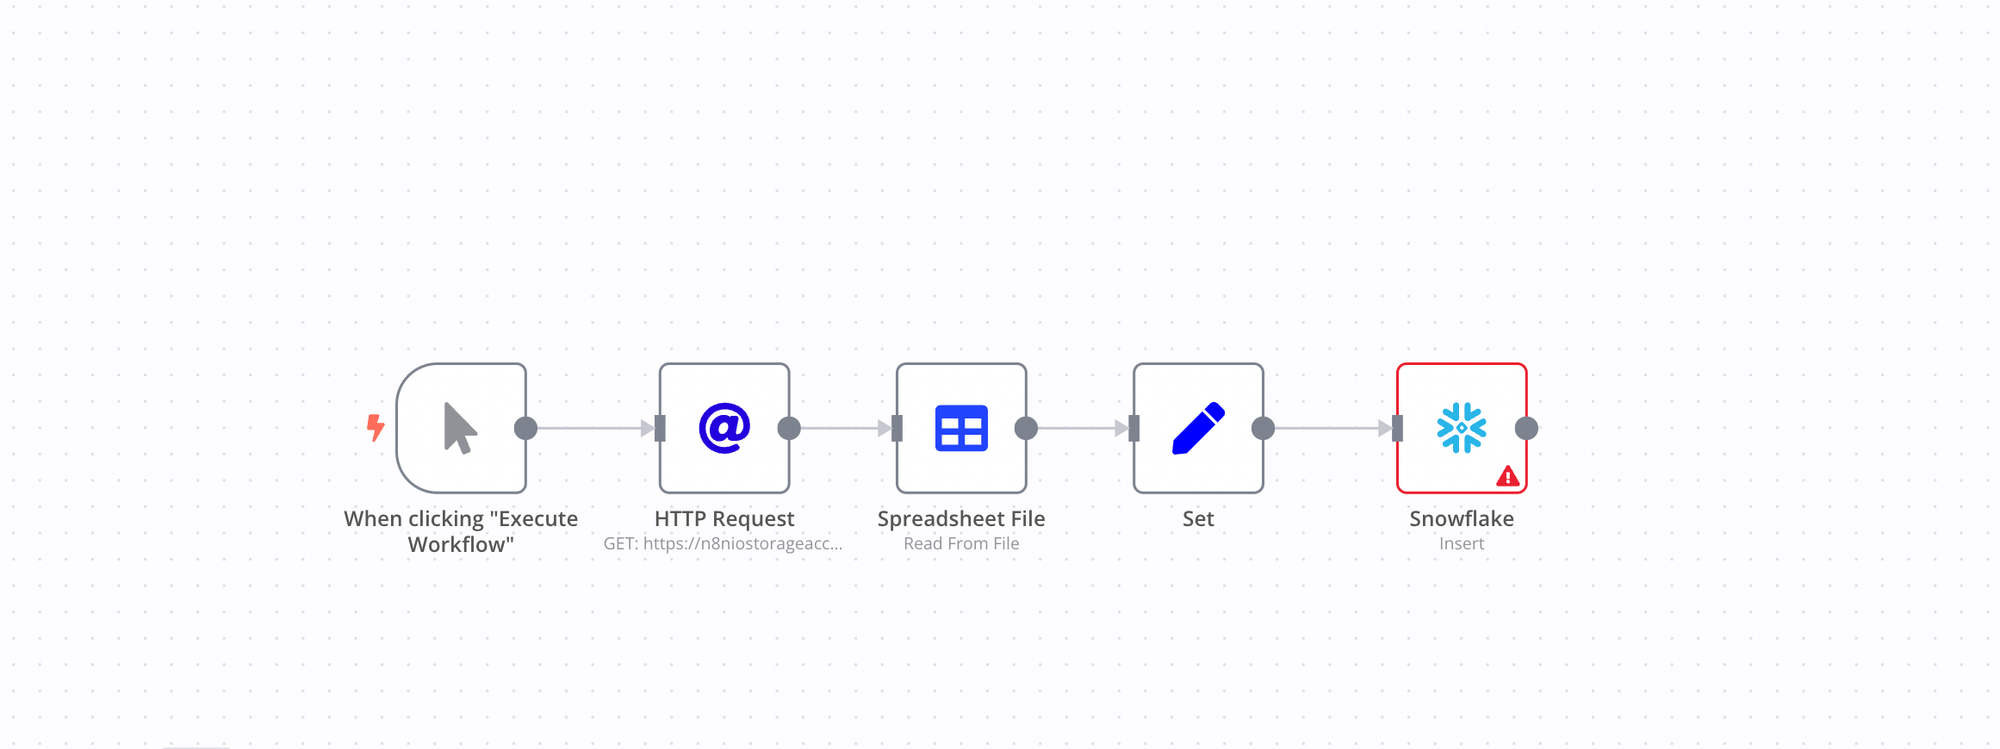
Notice how the Snowflake node is highlighted in red. Configure it before proceeding to the next step. Configuration here just entails adding your Snowflake credentials to the Snowflake node. Learn how to authenticate the Snowflake node here.
Lastly, you also need to pass the URL to the CSV file containing your list of users to the HTTP Request node. You can use this link.
Step 3: Run workflow
Hit the Execute Workflow button and all the users in the CSV file should be uploaded to the users table in Snowflake.
Wrap Up
Congratulations! You have successfully learned three different methods to upload CSV to Snowflake. Whether you prefer using the web interface, SQL commands or a no-code approach, you now have the knowledge to seamlessly load your data into Snowflake.
We’ve also explored how to upload CSV to Snowflake with n8n, but also know that’s not where it ends. n8n has an awesome collection of different applications you could seamlessly integrate Snowflake with to create powerful workflows.
Register your n8n account in the cloud and start automating for free!